The Secret of Propagating Pelargoniums in Bags: Roots Appear Before Your Eyes.

According to ТСН: The autumn pruning of pelargoniums is not only a hygienic process but also a great way to obtain new plants. Instead of just putting the cuttings in water, try rooting them in bags. It’s like magic: the roots appear before your eyes, and you don’t have to worry about watering or the soil drying out.
With this method and timely pin-cutting in spring, you can not only get a single shoot but also a lush flowering shrub.
How to Propagate Pelargoniums: A Detailed Guide
Cutting and Preparing the Cuttings
When the flowers of pelargoniums fade and the stems stretch and become bare, it’s time to act. Leave 3-4 buds above the ground on the main bush and use the cut branches for cuttings.
Choose the strongest stems and cut them into pieces about 15 cm long. The cut should be made diagonally below the node where the leaves grow. Remove the lower leaves to prevent rot during rooting.
Creating the Perfect Substrate
For the easy growth of roots, the soil must be permeable. Mix standard universal peat soil with perlite in a 1:1 ratio. The mixture should be slightly moist: it should retain its shape when compressed but crumble easily when loosened.
The Secret of Propagation in Bags
Take small plastic bags (preferably with a zipper). Fill them with the prepared mixture, insert the cuttings' lower ends into the bags, and seal them tightly.
The inner microclimate helps retain moisture, allowing the cuttings to survive about a month without watering. Place the bags in a bright location (but not in direct sunlight) at a temperature of about 18 °C.
Checking and Transplanting
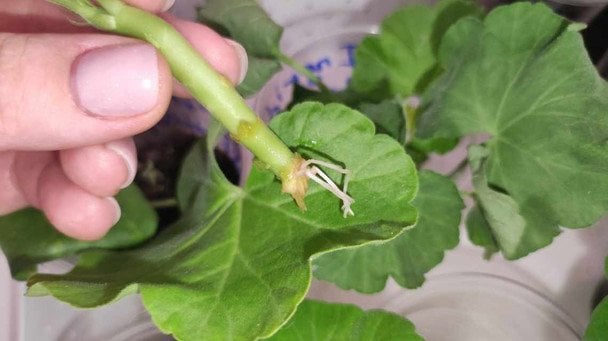
About a month later, thanks to the transparent walls of the bag, you can see healthy white roots. This means the plants are ready to live in their own pot.
To obtain a dense plant, do not plant a single cutting in the pot. Plant 4-5 pieces together in a container with good drainage. Group planting is the quickest way to achieve a lush ‘head cover’ on your windowsill.
Shaping the Plant
After planting, it is important to limit the growth of pelargoniums upwards. Since there is a lack of light in winter, young shoots may lean towards the window. Measure 3-4 buds above the ground and gently pinch off the tip. This will encourage the plant to form side shoots, leading to a dense and compact shrub that will bloom abundantly in spring.
So, with these simple tips, you can propagate pelargoniums in your own home and enjoy their beauty. Proper rooting and care will not only guarantee you new plants but also real joy in the process. The autumn pruning of pelargoniums will become a great way to share the beauty of this plant with loved ones or to create your own green corner.
Read also
- Kyiv Region Braces for a Warm June 11: Temperatures Set to Reach +28°C
- A Simple Zucchini and Eggplant Stew Recipe from 'Tasty Bites'
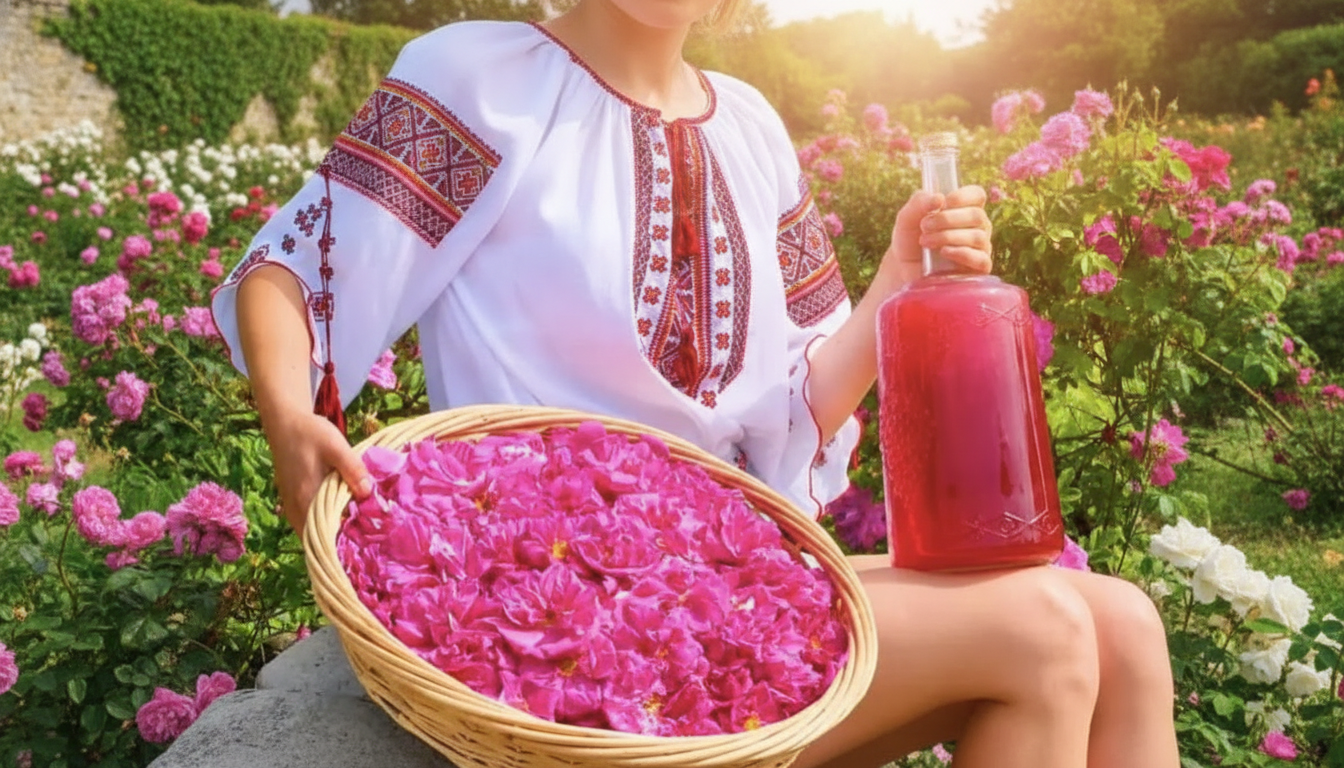
- A Festive Drink Made from Tea Rose Petals: An Easy Recipe for Your Holiday Table
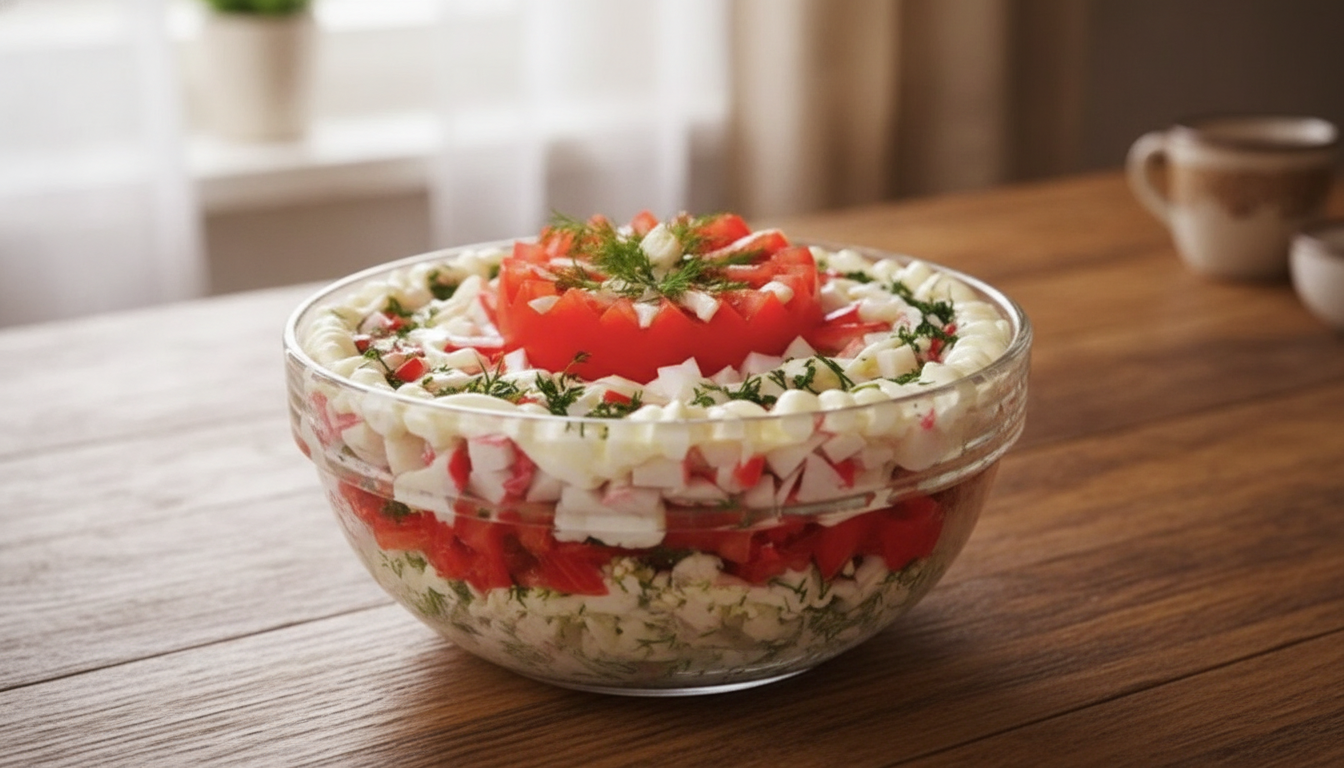
- A Surprising Twist on Crab Stick Salad: One Unlikely Ingredient Transforms the Flavor
- Unique Venus-Jupiter Conjunction: One Zodiac Sign Gets a Rare Opportunity Until June 14
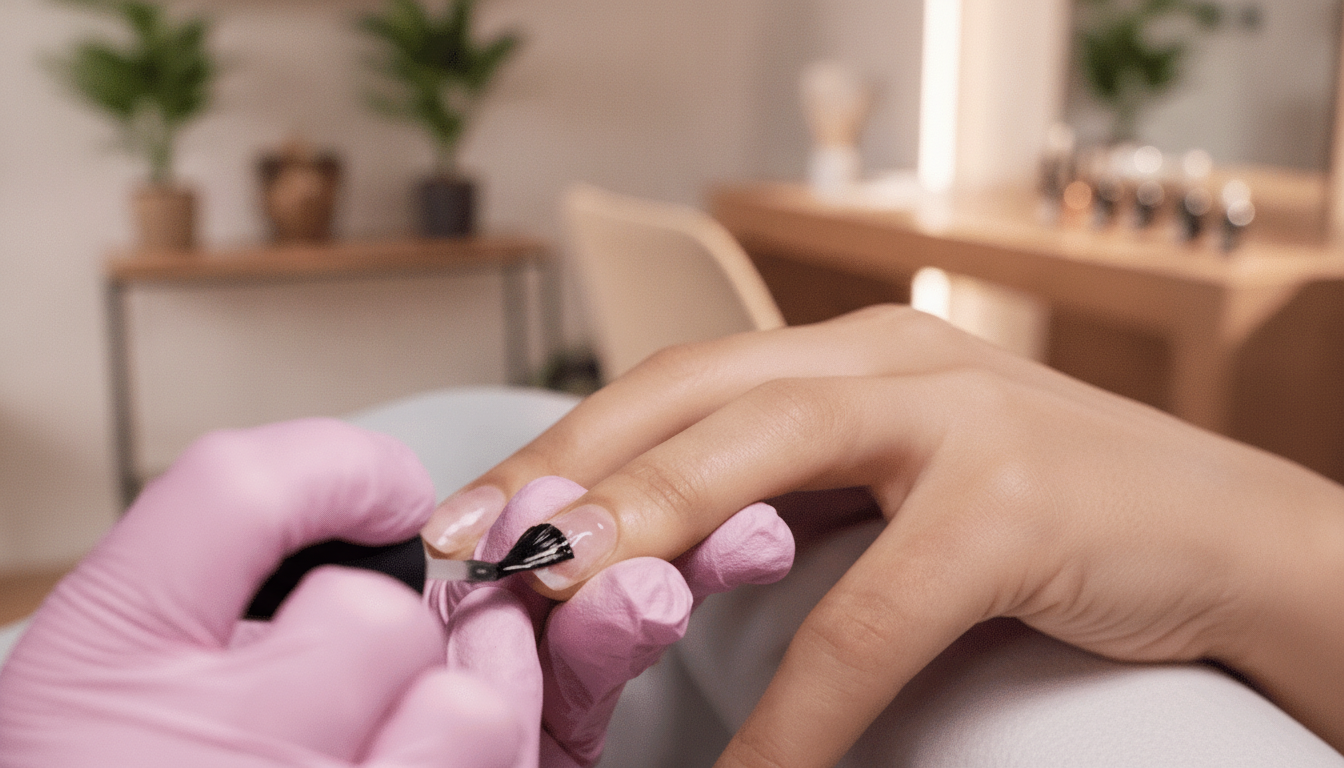
- Short Nails Look Longer with the Italian Manicure: How This New Beauty Trend Works